Using encrypted documents with vim
This article has last been updated at .
Everyone has secrets. Or at least some data you don’t want to show others, right? Vim is a common editor to be found on Linux systems. It has an option to create and use encrypted files. We will look at how to configure it and use this encryption capability.
Encryption is the process of fiddling with data so that others no longer can’t read it. The idea is that you still can, so when we speak about encryption, we can’t ignore decryption. This also means that we need a good cryptographic algorithm. This way we can store our original file into an encrypted version. Then when we later need the data again, we can decrypt it.
Important to notice is that the implementation of encryption in vim is suitable for personal use. If you want to protect intellectual property, trade secrets, or even more sensitive data, consider other options. We will discuss these later.
Configure vim
To use encryption, we first need the right support in your vim installation. Secondly, some configuration is required to activate the right settings and doing it securely.
Cryptv support
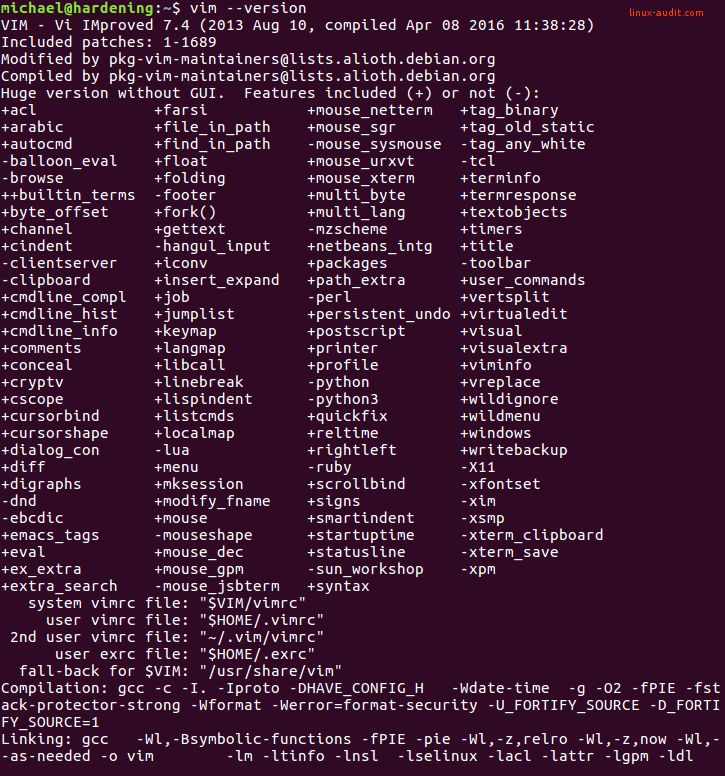
No cryptography magic will happen if we don’t have the right support. We need the cryptv support compiled into vim.
vim -version
This output should give you version details and related capabilities. Search for +cryptv in the output.

Blowfish2 support
Your version needs to be at least 7.4 with patch level 401. If your Linux distribution ships an older version, you can only use ‘blowfish’. The implementation of blowfish in vim is incorrectly implemented, resulting in weakened encryption. This makes it possible to crack the first 64 bytes of the file and possibly more.
Set encryption method
We start by setting the encryption method we want to use.
:set cryptmethod=blowfish2
Tip: you can also use cm as an abbreviated version.
Disable backups
During editing your files you may not want to leak any sensitive data. Backup files have the main purpose to make a copy of your data, but that is not what you may want in this case. Disable the creation of these files.
Do not make a backup
:set nobackup
Do not write to a temporary file first
:set nowritebackup
If you still prefer to have some backup files, you could enforce writing temporary files in directories you control and clean those out at your convenience. This way you still have the backup, with slightly more control over where any sensitive data may be located.
:set backupdir=
/vimtmp,./vimtmp,.
:set directory=
Another tweak to still allow backup files is disabling them for some specific directories
:set backupskip=/tmp/*,/private/tmp/*
Disable viminfo
The viminfo file also maintains information about your vim sessions. As this may contain sensitive data, disable the file if you don’t want to take any risk of leaking data.
:set viminfo=
Disable swap
The creation of swap files (.swp) can be disabled as well.
:set noswapfile
If you want to reuse these settings, simply add it to your ~/.vimrc file. For example:
set cryptmethod=blowfish2
set nobackup
set nowritebackup
set viminfo=
With these settings in place, we can start using the encryption options vim has to offer.
Enable encryption of a file
Start vim with the -x option.
vim -x mynewfile.txt
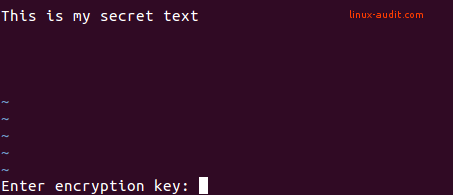
For a file that is already opened, use the :X option and vim will ask you for an encryption key. This will be used to mangle all data and ensure others (without the key) can’t see the data.

After saving (with :w) the file is stored on disk. You can validate that the data is encrypted by using the file command.

When opening up the file you will be asked for your encryption key. If that matches the one you provided before, the file is editable again.
